Making yogurt at home
If I had to compile a list of things I might potentially need for the house, “another kitchen appliance” would definitely not be on it. Yet inexplicably, last month, I found myself pining after a yogurt maker. Until now, I had always thought of this machine as something that you always see in charity shops because no one has any use for it. But suddenly this hippie fixture is back in fashion: French publishers are going crazy for the subject and improved machines promise to turn out everything from fromage blanc to crème caramel.
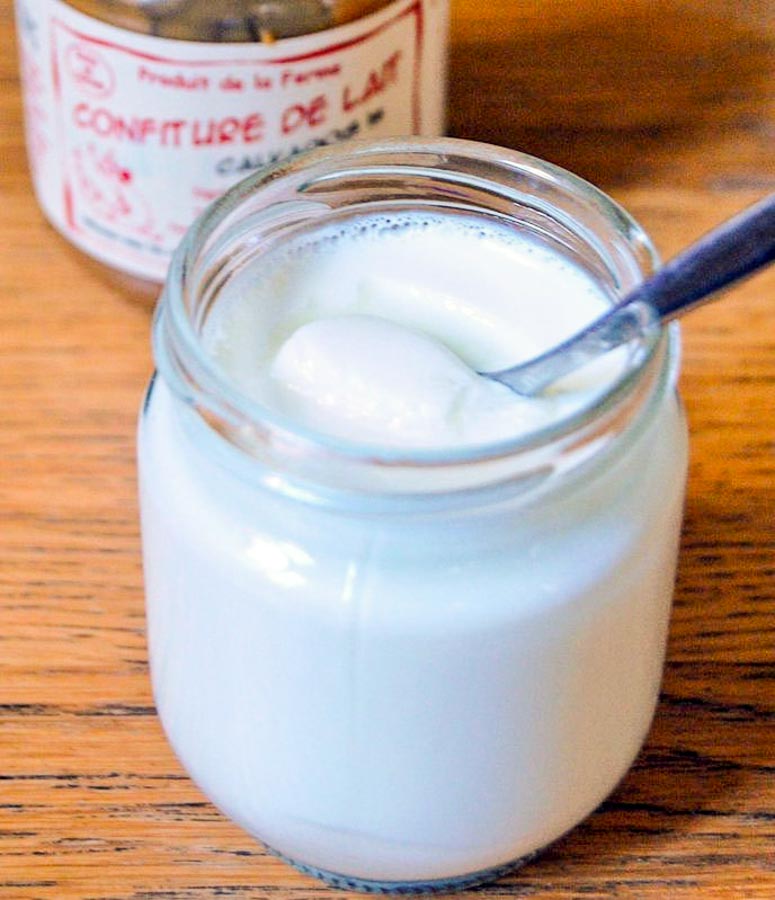
I know that it’s perfectly possible to make yogurt without a machine, using a heavy saucepan or a thermos. I have even done so myself, successfully. But what has always appealed to me about the machines is the cute little glass jars that come with them. Call me frivolous, but I think it’s a lot more appealing to eat yogurt out of one of these jars than to scoop it from a big container. I like the idea of spooning jam into the bottom of the jars, creating fruit yogurts far more wholesome and attractive than what you find in the supermarkets.
Once the “need” for this appliance had gripped me, it didn’t take long for me to spring into action. Since the world is full of homeless yogurt makers, I decided to look for a second-hand model rather than buy a new one. So I visited Cash Express, a kind of pawn shop that occasionally has just the thing I’m looking for. Sure enough, they had one – a new model still under guarantee, to boot. Made by Lagrange, this machine looks like a cute round spaceship (please forgive my overuse of the word “cute” in this post). It came with six glass jars and even had an instruction manual.
Naively, I thought that making yogurt in a machine would be as simple as mixing milk with yogurt or a starter, then pouring it into the jars and setting the time on the machine. It is, if you’re willing to use UHT (long life) milk, which has been sterilized at high temperature. Not being a fan of this milk, with its yellowish color and cooked taste, I prefer to make the small effort of buying fresh milk and heating it before mixing it with the starter and pouring it into the machine.
Resisting the many attractive yogurt books on the shelves, I used a recipe from Clotilde, who with her husband Julien runs the gîte Mas Lou Abeilhs in the Cévennes. Every morning at breakfast there, I wondered at the creamy texture and delicate sweetness of the yogurt. Clotilde let me in on her secrets: add two tablespoons of powdered milk per liter of whole milk, and use plain full-fat yogurt for the starter. To take the edge off the acidity, she added a packet (the equivalent of about a tablespoon) of sucre vanillé to the milk.
Because I love vanilla yogurt, I played around with her recipe a little, substituting whole vanilla bean for the vanilla sugar. Delicious as it was – particularly with bourbon vanilla from Madagascar, which has a natural affinity with dairy – I finally decided that my everyday yogurt needs no sweetening or flavoring. This way, I can flavor it as I like each day and also use it in cooking (though who knows, vanilla might add something to a curry).
So, without further ado, here is the only yogurt recipe anyone really needs. If you are teetering on the brink of buying a yogurt machine, do it! You can’t imagine the pleasure those little glass jars will bring you.
Yaourt maison (Homemade yogurt)
For six generous-sized jars (about 180 ml or 2/3 cup each)
1 liter (4 cups) fresh whole milk, preferably organic
2 tbsp powdered milk, also organic if possible
1 plain commercial yogurt, such as Danone (120 ml or 1/2 cup)
First, rinse a heavy saucepan with cold water, which will prevent the milk from sticking to the pan. Heat the whole milk and powdered milk over medium heat until it almost boils (bubbles should be forming around the edges of the pan and steam should be coming off the surface). If you have a thermometer, the temperature should be around 82 C or 180 F. Take the pan off the heat place the base in an ice bath for around 20 minutes, until it cools to around 46 C (115 F). If you are using a yogurt machine, it won’t matter if you let it get too cool.
Meanwhile, preheat the machine or find your thermos. If you have neither a machine nor a thermos, you’ll need a thick towel. Place the commercial yogurt in a large bowl. Strain 1/2 cup of the cooled milk over the yogurt and stir with a whisk (stirring, not whisking) to remove any lumps. Add the rest of the milk and stir with the whisk to combine.
Pour this mixture into your little glass jars or your thermos and set aside until the yogurt becomes firm. You can also wrap your heavy saucepan (it has to be one that retains heat) in a thick towel and put it in a warm place, next to a radiator for instance. In my yogurt maker, it takes about 4-5 hours for the yogurt to set. If I leave it a little longer, the taste becomes more acidic, and if I leave it too long it gets grainy at the bottom. In a thermos or in the saucepan, you can leave it overnight.
Chill the yoghurt in the refrigerator before enjoying it with vanilla sugar, jam, maple syrup, honey, confiture de lait, or simply plain. No need to consume dubious additives in your yogurt ever again.
Note: Still looking for reasons to make your own dairy desserts? Some Petits Pots de Crème au Chocolat produced by La Laitière (aka Nestle) that I carelessly picked up at the supermarket contain “quality ingredients” (to quote the manufacturer) that include the following: E339, E460, E466, E407 and E524. No wonder I feel a bit queasy.


Ah, the Thermomix, is there anything it can’t do? I suppose it can’t improve on the little glass jars, though you could always heat the milk in the Thermomix, then pour it into the yogurt maker!
Rosa, I’ve been making yogurt in the Thermomix with good results, too, although I see the appeal of your small jars and might get out my yogurt-maker to do some fruit yogurts…